Regular maintenance of your hot water system is essential to ensure it operates efficiently and lasts for years. A DIY hot water service check can help you identify potential issues before they become costly repairs. This guide will walk you through the steps to inspect your hot water system safely and effectively.
Why Regular Hot Water System Checks Are Important
A well-maintained hot water system ensures consistent performance, reduces energy consumption, and extends the lifespan of the unit. Neglecting maintenance can lead to leaks, reduced efficiency, or even complete system failure. By conducting a DIY check, you can catch minor problems early and avoid expensive professional repairs.
Safety Precautions Before Starting
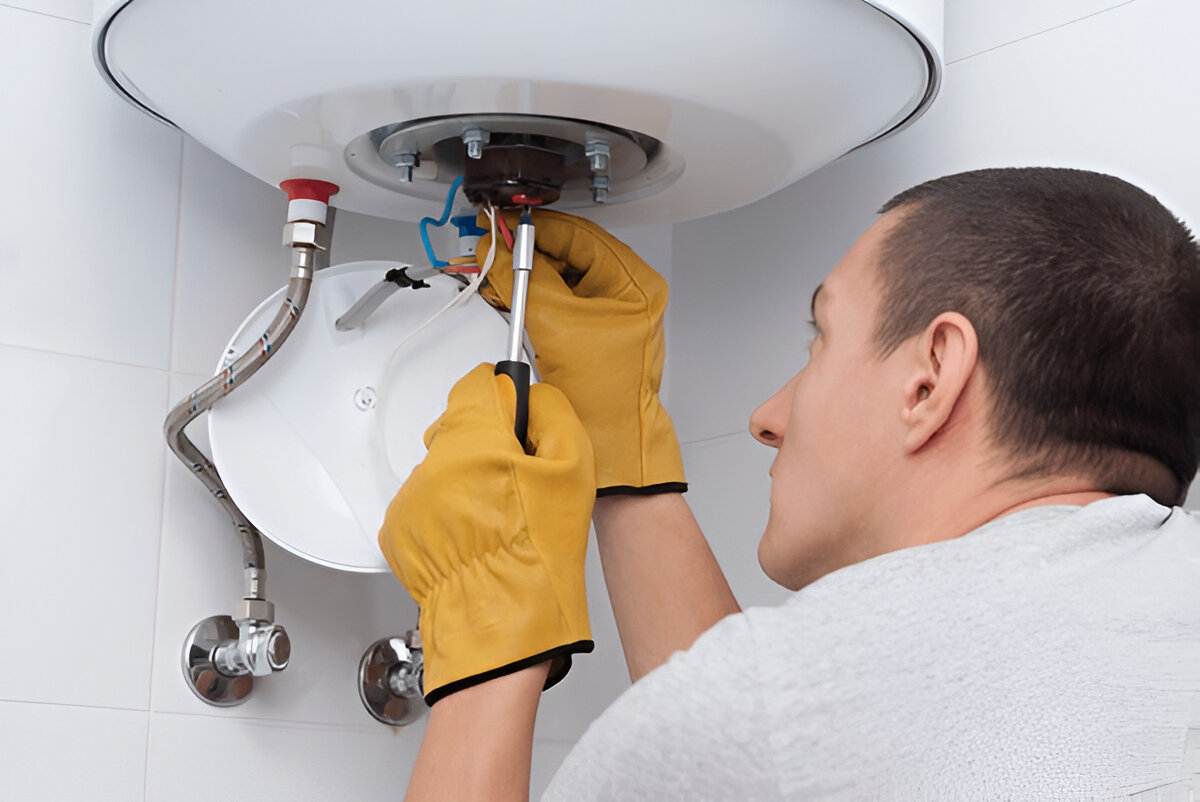
Before inspecting your hot water system, prioritize safety. Turn off the power supply if you have an electric water heater or shut off the gas for a gas-powered unit. Allow the system to cool if it has been running recently to avoid burns. Wear protective gloves and eyewear, and keep a flashlight handy for better visibility in dark areas.
Step 1: Inspect for Visible Leaks
Begin by examining the area around your hot water system for any signs of water leakage. Check the base of the tank, pipes, valves, and connections. Even small drips can indicate a problem that needs attention. If you notice pooling water or corrosion, it may be time to call a professional plumber.
Step 2: Check the Pressure Relief Valve
The temperature and pressure relief (TPR) valve is a critical safety feature that prevents excessive pressure buildup in the tank. To test it, place a bucket under the discharge pipe, lift the valve lever briefly, and allow some water to flow out. If water continues to drip after releasing the lever or if no water comes out at all, the valve may need replacement.
Step 3: Examine the Anode Rod
The anode rod protects your water heater tank from corrosion by attracting rust-causing minerals. Over time, it deteriorates and requires inspection. Locate the anode rod (usually on top of the tank), unscrew it using a socket wrench, and check its condition. If it’s heavily corroded or less than half an inch thick, replace it to prolong your tank’s life.
Step 4: Test the Water Temperature
High water temperatures can cause scalding and increase energy costs. Use a thermometer to check the hot water temperature at a faucet. The ideal setting is between 120°F and 140°F (49°C to 60°C). If the temperature is too high, adjust the thermostat on your water heater accordingly.
Step 5: Flush the Tank to Remove Sediment
Sediment buildup reduces efficiency and can damage the tank. To flush the system, attach a garden hose to the drain valve at the bottom of the tank and direct the other end to a safe drainage area. Turn off the heater, open the drain valve, and let the water flow until it runs clear. This process helps maintain heating efficiency and prevents clogs.
Step 6: Inspect the Heating Elements
If you have an electric water heater, check the heating elements for signs of damage. Turn off the power, remove the access panels, and use a multimeter to test for continuity. If an element shows no continuity, it needs replacement. Also, look for calcium or lime deposits, which can reduce heating efficiency.
Step 7: Check the Burner and Flue
For gas water heaters, inspect the burner assembly through the viewing window at the bottom of the unit. The flame should be blue with a small yellow tip. A mostly yellow flame indicates improper combustion, which may require professional servicing. Also, ensure the flue is clear of obstructions to allow proper ventilation.
Step 8: Assess Pipe Insulation
Properly insulated pipes improve energy efficiency and prevent heat loss. Check the insulation on both hot and cold water pipes connected to the heater. If insulation is missing or damaged, consider adding foam pipe sleeves to reduce energy waste.
Step 9: Listen for Unusual Noises
Strange sounds like popping, rumbling, or banging may indicate sediment buildup or a failing heating element. If flushing the tank doesn’t resolve the noise, consult a professional to diagnose the issue.
Step 10: Verify Pilot Light Function
If your gas heater has a pilot light, ensure it’s burning steadily. A flickering or frequently extinguishing pilot light could signal a faulty thermocouple or gas supply issue. Relight it according to the manufacturer’s instructions, and if problems persist, seek professional help.
When to Call a Professional
While DIY checks are useful, some issues require expert attention. If you notice major leaks, persistent strange noises, no hot water despite troubleshooting, or gas-related problems, contact a licensed plumber or technician immediately.
Conclusion
Performing a DIY hot water service check can save you money and prevent unexpected breakdowns. By following these steps regularly, you can maintain your system’s efficiency and reliability. Always prioritize safety, and don’t hesitate to call a professional for complex issues. With proper care, your hot water system will provide consistent performance for years to come.
By staying proactive with maintenance, you ensure that your household always has access to hot water without unnecessary expenses or inconveniences. Take the time to inspect your system today—it’s a small effort that pays off in the long run.